




Solder paste stencil cleaning should remove paste from the foil faces and aperture walls without damaging the stencil, then leave it ready for a verified next print. A shiny surface alone is not a release criterion. Check the smallest openings, confirm the cleaning fluid has been removed, and inspect the first deposited pattern before placing components.
First identify the operation: an offline wash of a removed stencil is not the same as an automatic underside wipe inside a printer. Cleaner approval, drying and equipment compatibility can differ even when both jobs are described as stencil cleaning.
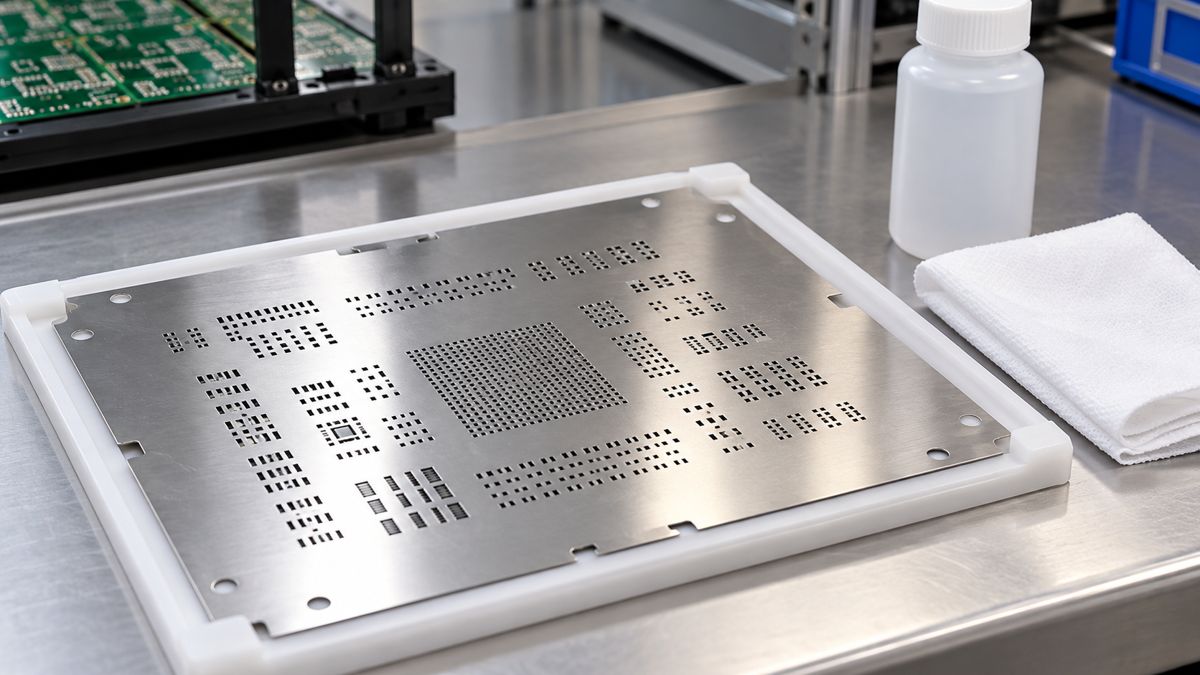
Is the stencil dirty, or is paste transfer failing for another reason?
Photograph the failed deposit and the corresponding aperture before cleaning. Missing deposits concentrated in small features can come from blocked apertures, but they can also persist with a clean stencil because of aperture geometry, rough walls, poor board support or unsuitable paste condition. More scrubbing does not correct those causes.
Compare three observations: the aperture before cleaning, the same aperture after cleaning, and the next print on a properly supported board. If the opening is clear but the same feature still fails, stop treating contamination as the only hypothesis. Preserve the images so a stencil or paste supplier can see exactly what changed.
Offline cleaning vs printer under-wiping: what changes?
| Operation | What it addresses | What must be approved |
|---|---|---|
| Offline manual cleaning | Paste on both foil faces, edges and accessible apertures | Chemical, wipe, stencil coating/frame compatibility and complete removal/drying |
| Offline machine cleaning | Repeatable cleaning of removed stencils with a qualified cycle | Machine, chemistry, rinse/dry sequence and frame/coating limits as a combined process |
| Automatic underside wipe | Contamination accumulating on the board-contact side during printing | Printer-approved fluid and consumables, sequence, vacuum function and interval |
Indium’s printer setup guidance explains that wipe type, frequency and solvent should be optimized for the paste and build. Dry, dry/vacuum and wet-containing sequences are not interchangeable recipes. Ask the paste and equipment suppliers which combinations are supported before modifying a production program.
Do not put an offline cleaner into a printer reservoir merely because its label says stencil cleaner. The named product below demonstrates why the application restriction matters as much as the headline cleaning claim.
MicroCare BGA aqueous cleaner: which parameters and limits matter?
The MicroCare Aqueous Stencil Cleaner bulletin, Rev. 26015, identifies pump-spray code BGA and bulk codes BGAG, BGAP and BGAD. These are manufacturer-listed properties, not PCBtry process capabilities.
| Listed property | Value or restriction | Practical interpretation |
|---|---|---|
| Chemistry/use | Water-based; ready to use; room-temperature cleaning | Do not invent a dilution or heating recipe |
| Boiling point | 95 °C | Not a recommended cleaning or drying temperature |
| Specific gravity | 0.99 | Reference temperature and tolerance not stated in this bulletin |
| Volatile fraction / organic content | 100% / 209 g/L | Does not specify a guaranteed evaporation time |
| Fire classification | Listed nonflammable; no flashpoint | Still obtain the current SDS and workplace controls |
| Application restriction | Not recommended for use in stencil printers | Do not treat this as an automatic under-wipe fluid |
The bulletin calls for shaking before use and describes slow drying. It does not provide guaranteed property tolerances or a universal cycle time. Confirm coating, adhesive and equipment compatibility for the exact assembly; a general material statement does not qualify your whole process.
How do you clean a removed stencil without spreading contamination?
- Identify and isolate the job. Record stencil revision, paste product/alloy and cleaner. Remove the stencil using the equipment’s safe access procedure and keep exposed paste away from the cleaning area.
- Support the foil. Use an approved flat support and suitable tools. Avoid bending thin webs or scraping fine openings with sharp metal points.
- Collect bulk paste first. Keep removed material out of fresh paste containers. Use the site’s controlled waste route rather than washing metal-bearing residue into a drain.
- Apply the qualified cleaner. Use the supplier’s amount, dwell and removal method. A low-lint wipe must lift contamination away, not repeatedly redistribute it. Change its contact surface as it becomes dirty.
- Inspect both faces and apertures. Examine critical openings with appropriate magnification and lighting. Follow the qualified rinse/removal sequence if required; do not add an improvised rinse.
- Dry, protect and verify. Complete the approved drying step, avoid recontamination during handling and validate the next print before normal production resumes.
Chemtronics’ IPA guidance notes that water content changes drying behavior and that material compatibility must be checked. Higher purity is therefore not automatically a better cleaning process. Use the selected product’s SDS for ventilation, ignition control and protective equipment. Do not spray flammable solvent around a hot tool or use an unapproved heated bath.
How often should you clean the underside of a stencil?
Set a validated interval for the actual paste, stencil and board support, not a universal board count from a forum. Start with the suppliers’ recommended setup, then compare the critical deposits immediately after a wipe and near the end of the proposed interval. Include a restart after the longest expected pause.
A useful trial record contains print number since cleaning, elapsed pause, smallest-feature result and underside condition. Change one factor at a time. If contamination accumulates well before the intended interval, investigate support and gasketing as well as wipe frequency. Simply wiping more often may hide an avoidable setup problem.
For example, if a trial shows good deposits immediately after cleaning but repeated smearing later, retain both observations and shorten the trial interval while investigating the cause. This is a diagnostic pattern, not evidence for a particular number of allowable prints. Requalify when paste, stencil treatment, board revision or cleaning chemistry changes.
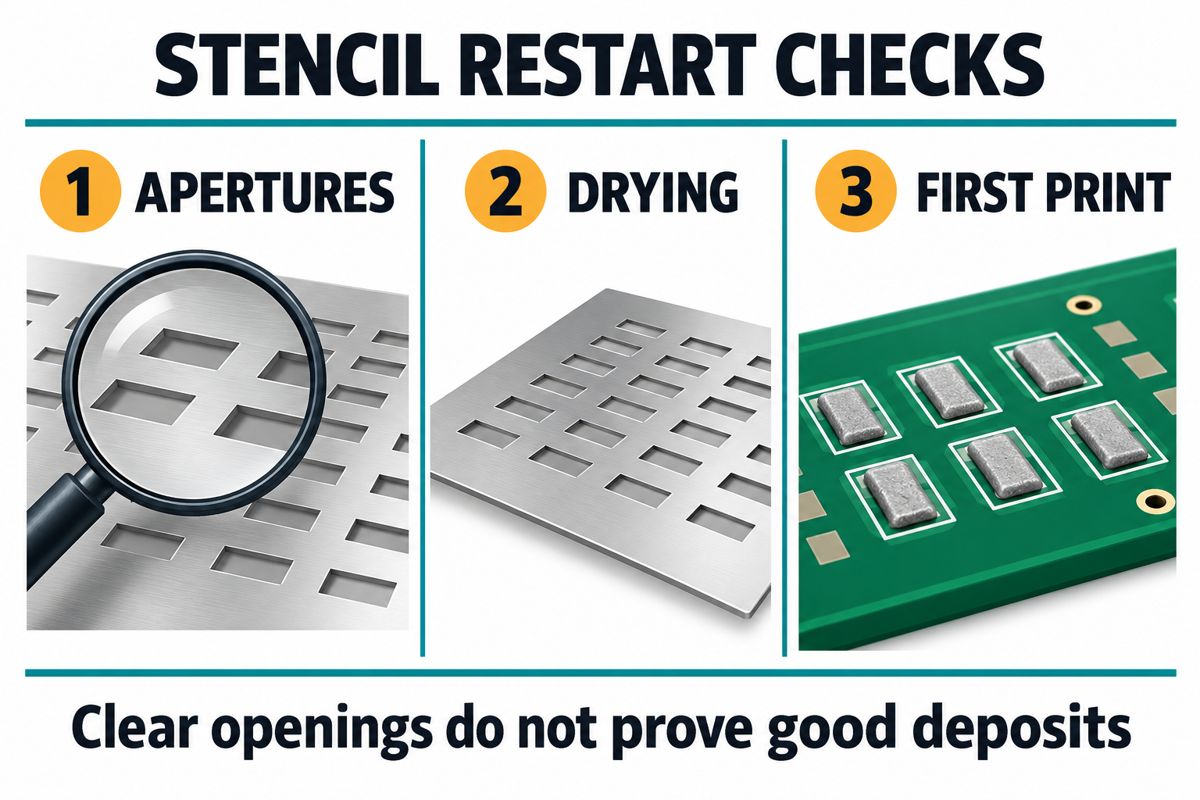
What should pass before printing resumes?
| Checkpoint | Record to keep | Hold the restart if |
|---|---|---|
| Identity | Stencil revision, paste lot and approved cleaner | Any material or program is uncertain |
| Apertures | Images of the smallest and previously failing openings | Paste, lint, damage or persistent blockage remains |
| Drying/removal | Completion of the qualified removal and dry sequence | Liquid remains or the required step was skipped |
| First print | Location-specific deposits, bridges and missing-print results; SPI data where available | Deposits fail the product’s defined limits |
| Repeatability | Results across the agreed print interval and pause/restart condition | Only one isolated good print has been demonstrated |
Visual inspection can reveal gross bridging or missing paste, but it does not establish deposit volume. Where volume is a release requirement, use a suitable measurement method and agreed limits. Do not invent a universal percentage window or treat a reflowed board as a replacement for print-process evidence.
What if cleaning does not fix missing paste or bridges?
Inspect aperture dimensions and wall quality, foil thickness, board support and separation behavior. Review powder size and aperture compatibility rather than assuming stronger cleaner will solve transfer. Check the paste’s storage and warm-up history separately. If deposits print correctly but spread later, investigate slump behavior instead of repeatedly recleaning an already clear foil.
For an upcoming PCB assembly build, prepare Gerber/stencil data, BOM, placement data, paste designation, foil thickness, failed-location photos and the current cleaning sequence. Send PCBtry the review package with the specific restart problem and requested inspection scope. Agree on acceptance evidence before production, rather than asking only whether the stencil looks clean.
Frequently asked questions about stencil cleaning
Can I use IPA to clean solder paste from a stencil?
It can be suitable for some combinations. Confirm compatibility with the paste, foil treatment, frame adhesive and cleaning equipment. Select a documented grade and procedure; do not substitute household products with unspecified additives.
Should I clean after every print?
Not automatically. Qualify the interval using contamination and deposit results for the actual process. Fine features, poor support or a changed paste can alter the required interval.
Does no-clean solder paste mean the stencil needs no cleaning?
No. The no-clean designation concerns the intended post-reflow flux-residue process. Paste left in stencil openings can still interfere with the next print.
Can I mix cleaner or IPA into dry solder paste?
Do not use stencil cleaner as a paste conditioner. Adding unapproved liquid changes the formulation. Follow the paste supplier’s handling instructions and disposition rules for suspect material.
Why are small pads still missing paste after cleaning?
Check aperture shape and finish, foil thickness, support and paste condition. A clear aperture can still release poorly. Compare the same feature before and after cleaning to avoid blaming the wrong variable.
Can a dirty squeegee or wipe contaminate the next print?
Yes. Include the squeegee and contact surfaces in the approved cleaning scope, and replace contaminated wipe areas. Keep removed paste separate from unused material.
Can every stencil go into an ultrasonic cleaner?
No. Qualify the stencil, coating, frame adhesive, chemistry and machine together. A chemical’s ultrasonic suitability is not approval for every stencil assembly or cycle.
How long should the stencil dry before reuse?
Use the qualified removal/drying procedure for the selected cleaner and geometry. No single time applies to all products. Confirm the required endpoint and inspect the first print before release.



0 Comments