




A solder paste slump test checks whether printed deposits lose their shape and spread toward neighboring deposits under specified conditions. It helps evaluate paste behavior, but a bridge seen immediately after lifting a stencil is not automatically a slump failure. Stencil movement, poor contact and excessive deposit volume can produce a similar photograph.
For a useful investigation, separate three observations: the fresh print, the print after a controlled wait, and the print after the agreed thermal exposure. Keep the material identity and printing setup fixed while you compare them. That sequence is more informative than replacing the paste and changing the stencil at the same time.
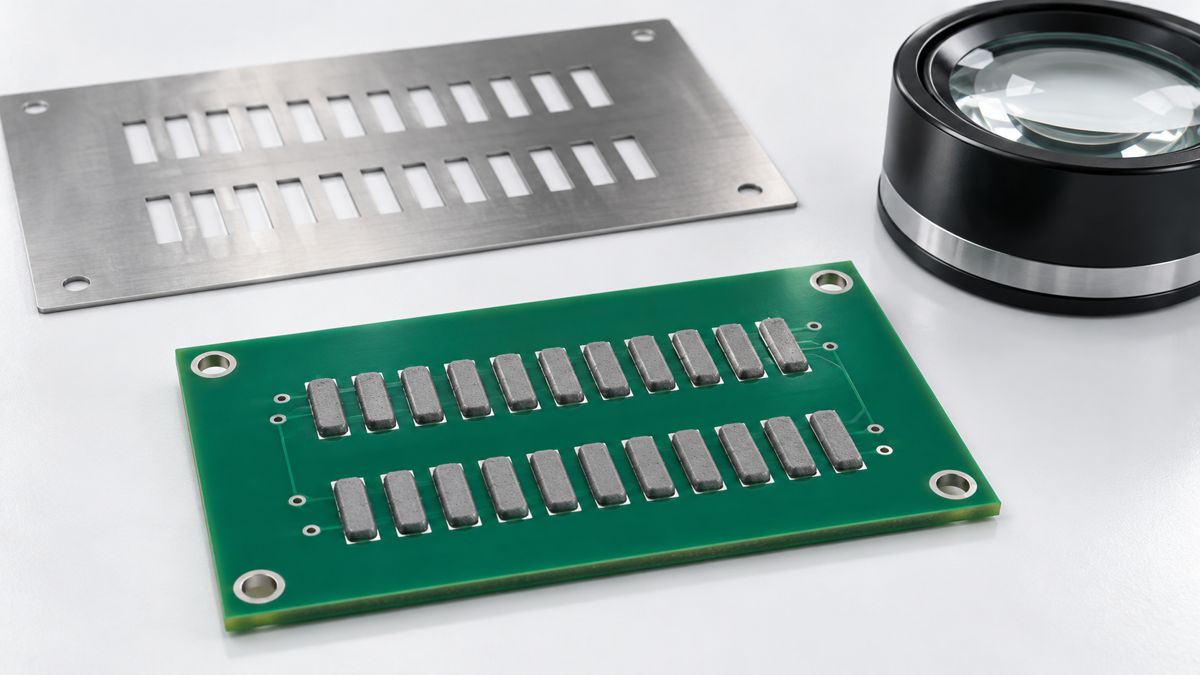
What is solder paste slump?
Slump is a loss of deposit shape after printing. The practical concern is whether the remaining separation between neighboring deposits becomes too small or disappears. The diagnostic question is when did that separation change? A smeared print starts with a defect; a deposit that was initially distinct and later spreads supplies different evidence.
In a Reddit discussion about apparent slump, the user also described movement of a frameless stencil and repeated printing passes. Those observations do not prove a paste defect. They show why an image of the final mess needs a record of the printing sequence. Do not assume a later reflow cycle will reliably remove a bridge.
Cold slump vs hot slump: what does each test tell you?
| Comparison | Cold slump | Hot slump |
|---|---|---|
| Condition being evaluated | Deposit stability during the specified ambient hold | Deposit stability after the specified heating exposure |
| Useful question | Does the print change before entering the thermal process? | Does heating reveal spread absent from the ambient observation? |
| Required context | Pattern, printing method, time and environment | The same context plus the thermal history |
| Important limitation | Not a complete prediction of oven behavior | Not a finished-joint reliability test or a replacement for board profiling |
Use the same agreed method when comparing suppliers or lots. A result from one pattern cannot be treated as interchangeable with a result from another geometry. Also identify the alloy: an elevated-temperature condition appropriate to one formulation must not be copied blindly to a lower-melting material.
How is the solder paste slump test performed?
The publicly available IPC-TM-650 Method 2.4.35, dated January 1995, uses prescribed stencil patterns and paired specimens. It specifies an ambient hold of 10–20 minutes at 25 ±5°C and 50 ±10% relative humidity. The second specimen is then heated to 150 ±10°C for 10–15 minutes, cooled and examined. Evaluation records which spacings have bridged.
This is a summary, not a replacement for the method or the applicable purchase specification. Obtain the agreed revision, pattern and acceptance requirement before commissioning a test. The published procedure describes how to observe and record slump; do not invent a universal allowable gap from a product’s “pass” statement.
- Define the comparison. Decide whether you are checking an incoming lot, investigating a line problem or qualifying a material change. Identify the contractual criterion separately from the measurement method.
- Preserve the starting state. Record the lot, preparation history and print setup. Photograph the fresh pattern before waiting or heating. An already smeared pattern cannot establish later spread.
- Keep evidence traceable. Label specimens, record actual conditions and retain the evaluation sheet. Attach any deviation rather than silently treating an improvised bench check as a standard test.
Kester NP560: which product parameters matter?
As a concrete example, Kester lists NP560 part 7048230910 as a 500 g jar of Sn96.5Ag3.0Cu0.5, Type 4, 88.3% metal-content paste. The 20 October 2021 technical data sheet provides these values:
| Parameter | Published value or condition | How to use it |
|---|---|---|
| Viscosity | 1300 poise, typical; Malcom, 10 rpm, 25°C | Compare only with matched measurement conditions; not a guaranteed tolerance band |
| Cold and hot slump | Pass; J-STD-005 / IPC-TM-650 2.4.35 | Request the relevant test record for qualification |
| Printing speed guideline | 25–150 mm/s | A process starting range, not a universal machine recipe |
| Separation speed guideline | 2–10 mm/s | Evaluate release on the actual stencil and board |
A typical viscosity is not a maximum rating or a lot acceptance limit. The listed process ranges require assembly-specific optimization. This material example does not imply that PCBtry stocks or uses this exact paste on every job.
Why does paste bridge immediately after stencil removal?
Start by checking the print rather than the oven. In a stencil-application discussion, users described excessive deposits, board support and extra wiping passes. These are useful investigation questions, not a qualified production recipe.
Inspect whether the board was held flat, the stencil contacted it consistently, and the stencil released without sliding across the deposits. Look for paste on the stencil underside. Compare the supplied paste-layer artwork with the actual apertures; do not assume that solder-mask openings are the intended stencil openings.
Then compare deposits at the same location across successive prints. A defect that follows a particular aperture suggests a different investigation from a defect that worsens everywhere as printing continues. Record the observation before changing settings. If you adjust support or release, keep the paste lot and other settings unchanged for the comparison.
Can adding flux or thinner fix solder paste slump?
Do not use an unapproved additive as a shortcut for oversized apertures. A Reddit question about diluting paste began with too much material being deposited. Changing the formulation would also change the material being evaluated, so it would no longer be a clean comparison of the original paste.
For production, hold questionable material and ask the paste supplier for an approved disposition. Correct the identified printing or artwork issue through the normal process-change review. If handling history is suspect, use the separate solder paste storage and warm-up checks; a slump investigation should not replace the material’s own handling instructions.
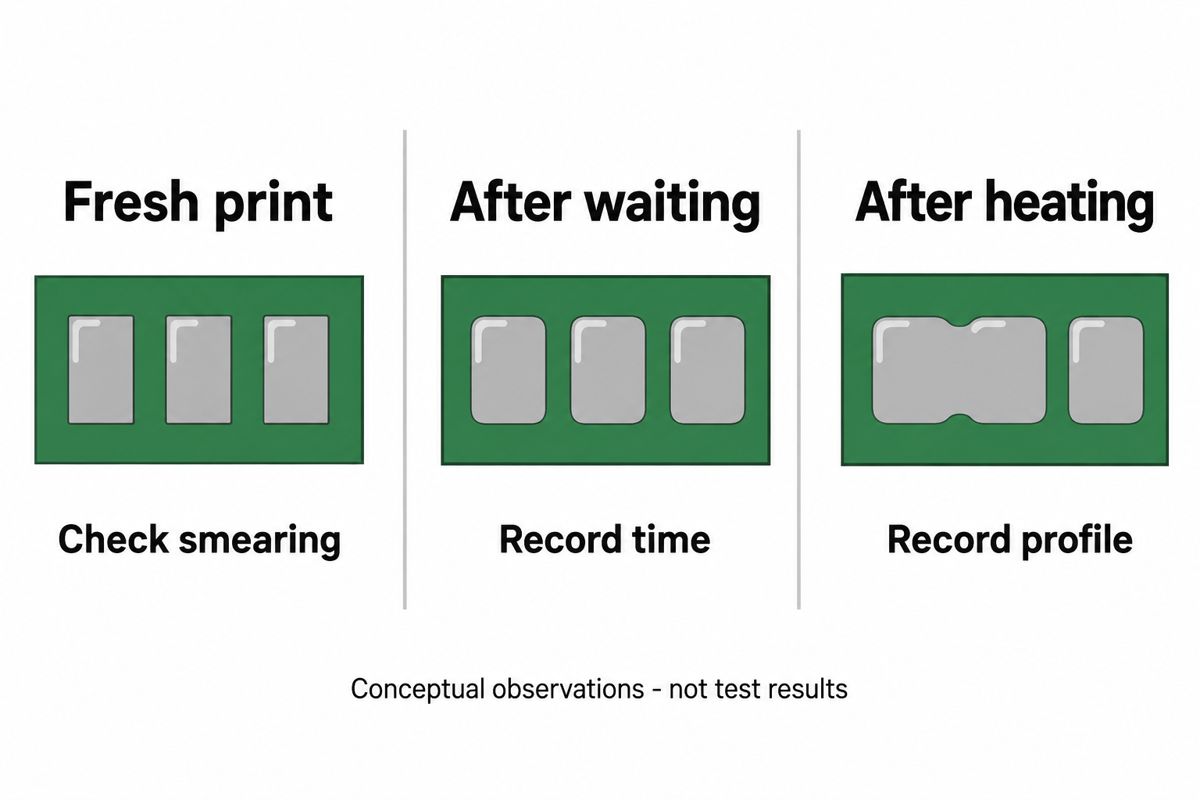
What evidence should you send for a bridging investigation?
Use the following record alongside the formal test report. It is a practical triage tool, not an IPC acceptance table. Include a scale in close-up images and use comparable lighting so a photographic difference is not mistaken for a change in deposit size.
| Observation | Save this evidence | Next check |
|---|---|---|
| Bridge present in fresh print | Top-view image, stencil underside, support and release setup | Print mechanics, aperture artwork and deposited volume |
| Distinct deposits merge during waiting | Time-stamped images, ambient conditions, paste lot and handling log | Repeat under controlled conditions; request material review |
| Ambient print stable; change after heating | Before/after images and actual thermal record | Separate hot-slump evidence from the production reflow profile |
| Only one lot behaves differently | Matched setup and paired lot records | Check preparation and material history before assigning cause |
| Test passes but assembled boards bridge | Print inspection, placement observations and joint images | Investigate the whole assembly process; do not dismiss the board evidence |
For an assembly review, send PCBtry the build evidence: Gerber and paste-layer files, stencil thickness, BOM, paste part number and lot, fresh-print photographs, defect locations and any measured profile. State the required acceptance criteria and ask which printing checks and first-article evidence are included in the quotation.
Solder paste slump FAQ
Is every solder paste bridge a slump defect?
No. Establish when the bridge appeared. A fresh-print smear, later spread and a bridge observed only after assembly are different starting points for investigation.
Will reflow automatically remove a paste bridge?
Do not rely on that outcome for production release. Inspect and disposition the print using the approved process; a comment that solder will self-correct is not acceptance evidence.
Can a moving stencil look like paste slump?
Yes. Movement during printing or release can distort the deposit immediately. Save the fresh-print image and check the support and separation arrangement.
Should stencil apertures match the solder-mask openings?
Do not assume so. Review the intended paste artwork and stencil design. Mask clearance and paste deposition serve different purposes.
Should I dilute paste to reduce the solder deposit?
Not without the material supplier’s approved instruction and process requalification. Address an oversized aperture or excessive deposit through the controlled printing process.
Can two slump reports be compared by “pass” alone?
No. Request the method revision, specimen geometry, conditions and acceptance requirement. Matching labels do not establish matching tests.
Is a hot slump test the same as reflow profiling?
No. One evaluates deposits under a specified test exposure; the other documents the thermal experience of the actual assembly. Keep both records when the investigation needs them.
Does a typical viscosity value prove my paste lot is acceptable?
No. A typical value illustrates material behavior under stated measurement conditions. Use the supplier-agreed lot criteria and actual process evidence for acceptance.



0 Comments