
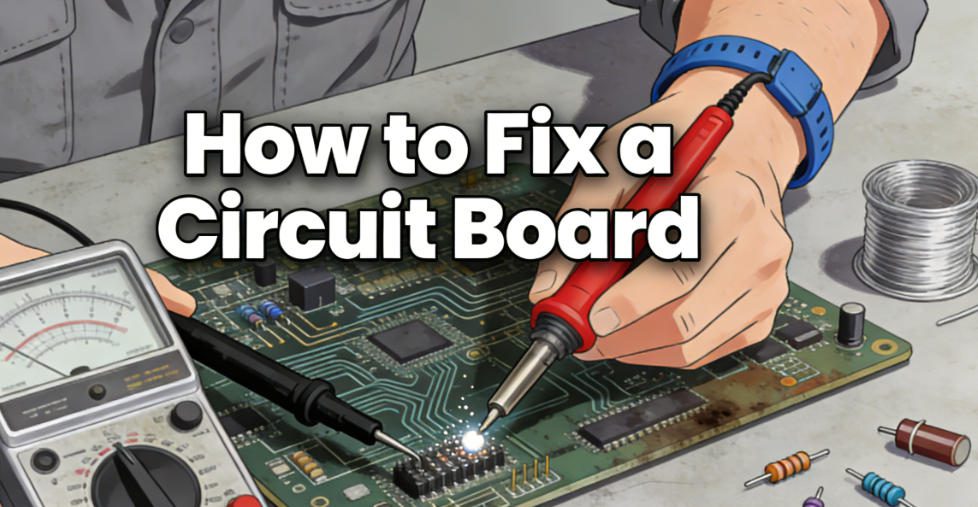
Introduction: Master the Art of Circuit Board Repair
Learning how to fix a circuit board is an invaluable skill for hobbyists, technicians, and professionals alike—whether you’re troubleshooting a household appliance, industrial equipment, or electronic gadgets. From water damage to burnt traces and short circuits, most common issues have actionable solutions with the right tools and techniques. This guide breaks down step-by-step methods to fix a circuit board, covering every critical scenario to help you restore functionality safely and effectively.

Essential Tools & Safety Precautions for Circuit Board Repair
Must-Have Tools
Before attempting to fix a circuit board, gather these tools to ensure precision and safety: a digital multimeter (for voltage/resistance testing), anti-static wristband, soldering iron (300-380°C), heat gun, solder wick, precision tweezers, isopropyl alcohol (90%+), lint-free cloth, magnifying glass or microscope, and a set of jumper wires. Quality tools prevent secondary damage and improve repair success rates.
Non-Negotiable Safety Rules
Always prioritize safety: Disconnect power and discharge large capacitors (wait 5-15 minutes or use a resistor) to avoid electric shock. Wear an anti-static wristband and work on an anti-static mat to protect sensitive components from ESD damage. Use protective goggles to shield eyes from solder splatter, and work in a well-ventilated area when using flux or isopropyl alcohol.
How to Fix a Circuit Board That Got Wet
Water or liquid damage causes corrosion and short circuits if not addressed immediately. First, power off the board and remove all connectors. Blot excess liquid with a dry lint-free cloth, then submerge the board in 90%+ isopropyl alcohol to dissolve contaminants—avoid water, as it worsens corrosion. Let the board soak for 10-15 minutes, then gently scrub corrosion with a soft brush. Dry the board completely with compressed air (low pressure) or let it air-dry for 24 hours. Use a multimeter to test for shorts before powering on; replace corroded components if needed.
How to Fix a Circuit Board Contact
Poor or corroded contacts lead to intermittent connectivity issues. Start by cleaning the contacts with isopropyl alcohol and a cotton swab to remove dirt, oxidation, or flux residue. For heavily corroded contacts, gently scrape the surface with a small metal tool (avoid damaging the contact pad). Apply a thin layer of conductive grease to improve connectivity and prevent future corrosion. If the contact pad is lifted or damaged, solder a small jumper wire to bypass the pad and restore connection.
How to Fix a Circuit Board Trace (Broken or Damaged)
Surface Trace Repair
Broken surface traces are common from physical stress or heat. Use a magnifying glass to locate the break, then scrape off the green solder mask (1-2mm on each side of the break) with a sharp tool to expose the copper. Cut a piece of thin copper wire (matching trace width) and solder it between the exposed ends. Cover the repair with solder mask adhesive to insulate and protect from future damage.
Inner Layer Trace Repair
Inner layer trace breaks are harder to detect—use a multimeter to confirm continuity loss. For simple cases, drill small holes on either side of the break (aligned with the trace) and solder a jumper wire through the holes to bypass the inner layer. For complex multilayer boards, professional X-ray inspection may be needed to locate the break accurately.
How to Fix a Short Circuit on a Circuit Board
Short circuits cause overheating, fuse blowouts, or component failure. First, use a multimeter in continuity mode to locate the short (look for beeping between power and ground). Inspect the area for loose solder, metal debris, or damaged components (e.g., blown capacitors). Remove debris with a brush or tweezers, and use solder wick to clean excess solder. If the short persists, remove suspicious components one by one (starting with capacitors) and retest until the short is resolved. Replace faulty components with matching specifications.
How to Fix a Broken Circuit Board
Physical damage (e.g., bent, split, or shattered boards) requires structural repair first. For small cracks, apply epoxy resin to the damaged area and clamp the board until dry (follow epoxy instructions). For larger breaks, reinforce the repair with fiberglass tape before applying epoxy. Once the structure is stable, repair broken traces, pads, or components using the methods outlined earlier. Avoid bending the board during repair, as this can worsen cracks.
How to Fix a Broken Wire on a Circuit Board
Broken wires (either soldered or jumper wires) are easy to repair with basic soldering skills. Trim the broken wire ends to expose clean metal, then tin the ends with a small amount of solder. Position the wire back in place (ensure proper alignment with pads) and heat the joint with a soldering iron until the solder melts. Let the joint cool completely before testing. For fragile wires, use heat shrink tubing to insulate and reinforce the connection.
How to Fix a Burnt Circuit Board
Burnt areas indicate severe overheating, often from short circuits or component failure. First, identify and replace the burnt component (e.g., resistor, capacitor, or IC) with an exact match. Clean the burnt area with isopropyl alcohol and a brush to remove charred material. If the burn damaged traces or pads, repair them using jumper wires or conductive silver paste. For extensive burns, check the power supply and surrounding components—overheating may have caused hidden damage. Test the board incrementally to avoid re-burning.
How to Fix a Cracked Circuit Board
Cracks can disrupt traces and weaken the board’s structure. For hairline cracks, apply a thin layer of cyanoacrylate glue (super glue) along the crack and let it cure. For deeper cracks, use epoxy resin mixed with fiberglass for added strength. Clamp the board firmly during curing to ensure alignment. After the glue sets, inspect for broken traces and repair them with jumper wires. Avoid flexing the board after repair, as cracks tend to reoccur under stress.
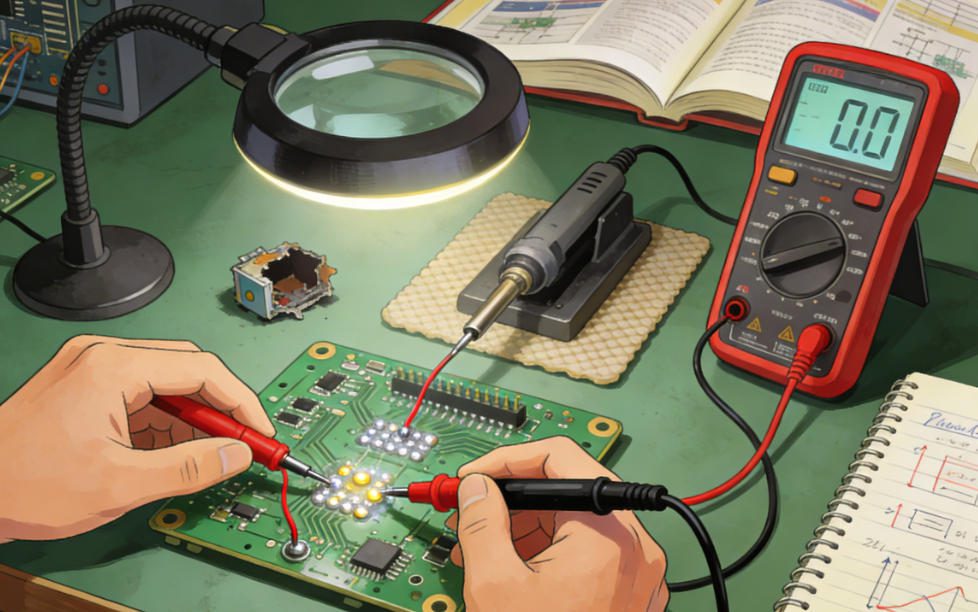
Post-Repair Testing: Ensure Your Circuit Board Works Properly
After repairs, conduct thorough testing to confirm functionality. Use a multimeter to check continuity, voltage, and resistance at key points. For digital circuits, use an oscilloscope to verify signal waveforms. Perform incremental power-up: use a variable power supply to slowly increase voltage, monitoring current draw—abnormal current spikes indicate remaining issues. Test the board under normal operating conditions for 30-60 minutes to ensure stability and prevent future failures.
Common Mistakes to Avoid When Fixing a Circuit Board
Avoid these pitfalls to prevent secondary damage: Skipping anti-static measures (ESD kills sensitive components), using excessive heat (over 400°C damages traces and components), rushing drying after water damage (residual moisture causes shorts), using mismatched components (voltage/power ratings must match), and neglecting to test incrementally (powering on without testing risks re-damage).
FAQ: How to Fix a Circuit Board (Common Questions & Solutions)
Q1: Can I fix a circuit board without soldering experience?
A1: Basic repairs (e.g., cleaning contacts, drying wet boards) can be done without soldering, but most trace and component repairs require soldering skills. Practice on scrap boards first to build confidence.
Q2: How do I know if a circuit board is beyond repair?
A2: A board is beyond repair if it has extensive burn damage, multiple broken layers, or unobtainable rare components. If repair costs exceed the cost of a new board, replacement is more practical.
Q3: What’s the best way to clean a circuit board after repair?
A3: Use 90%+ isopropyl alcohol and a soft brush to remove flux residue and debris. Avoid harsh chemicals, as they can damage components.
Q4: Can ESD damage be fixed?
A4: ESD damage is often invisible but permanent—if a component fails due to ESD, it must be replaced. Prevention (anti-static tools) is key.
Q5: How long does it take to fix a circuit board?
A5: Simple repairs (e.g., broken wire, dirty contacts) take 30-60 minutes. Complex repairs (e.g., inner layer traces, burnt areas) can take several hours.
Q6: Do I need a schematic to fix a circuit board?
A6: Schematics help for complex boards, but basic repairs can be done with visual inspection and multimeter testing. Look for manufacturer schematics online for better accuracy.
Trust the Pros for Complex Circuit Board Repair Needs
While DIY repairs work for simple issues, complex circuit boards (industrial, medical, or high-precision electronics) require expert skills and specialized equipment. Our team of certified technicians has decades of experience fixing all types of circuit boards—from water-damaged gadgets to burnt industrial boards. We use state-of-the-art tools to ensure fast, reliable repairs with a 100% satisfaction guarantee. Don’t waste time on frustrating DIY attempts—contact us today at sales@pcbtry.com to get your circuit board fixed right the first time. Let’s restore your equipment to peak performance together.


0 Comments