Blog
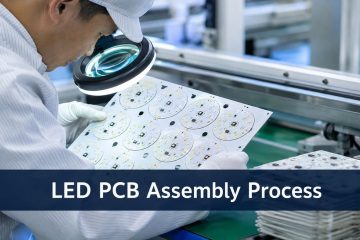
LED PCB Assembly Process: Polarity, Thermal Control and Testing
Follow the LED PCB assembly process from polarity and bin review through paste printing, placement, reflow, inspection, thermal checks, and functional testing.




Follow the LED PCB assembly process from polarity and bin review through paste printing, placement, reflow, inspection, thermal checks, and functional testing.
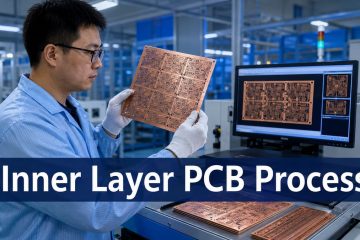
See how PCB inner layers move from CAM compensation and copper preparation through imaging, etching, AOI, oxide treatment, and lamination release checks.

Improve PCB assembly by measuring first-pass yield, separating design and process causes, controlling print and reflow, and closing the defect-feedback loop.
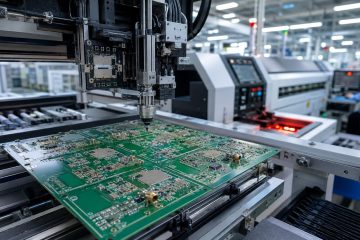
Learn how high-frequency PCB assembly controls materials, solder paste, placement, reflow, cleaning, connectors, inspection and RF acceptance testing.
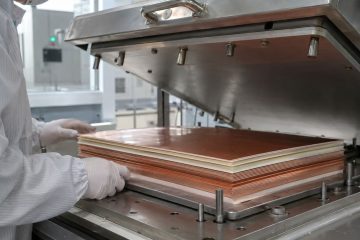
Learn how high-frequency multilayer PCBs are laminated, including material compatibility, surface preparation, registration, press control and post-lamination RF checks.
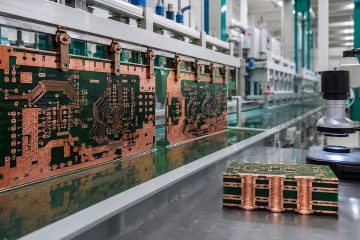
Learn how heavy copper PCB plating builds surface and hole copper, controls current distribution, and verifies thickness, adhesion and microsections before release.
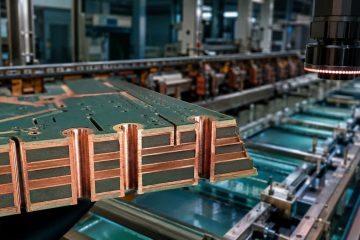
See how heavy copper PCBs move from DFM and stack-up review through plating, etching, lamination, drilling and release testing—with buyer checks at each stage.
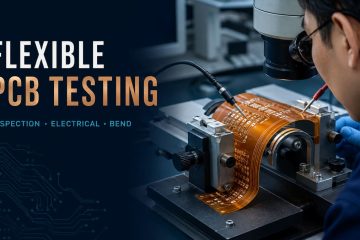
Learn how flexible PCBs are inspected, electrically tested, sectioned and bend-tested, with clear evidence and RFQ requirements.
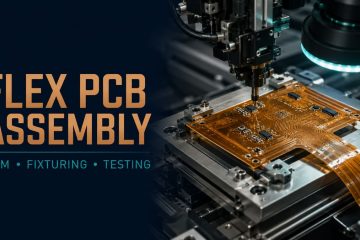
Learn the flex PCB assembly process from DFM and carrier setup through printing, placement, reflow, inspection and final testing.
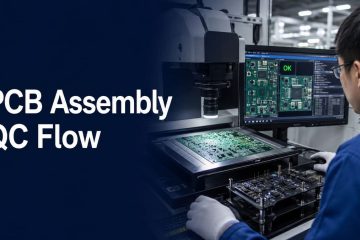
Use this PCB assembly QC process flow chart example to connect incoming inspection, SPI, AOI, X-ray, electrical testing, NCR control and shipment release.
If you have any enquiry about quotation or cooperation, please feel free to email us at sales@pcbtry.com or use the following enquiry form. Oursales representative will contact you within 24 hours. Thank you for your interest in our products.