
Whether you’re a hobbyist or an engineer, if you’ve ever developed your own product, you’ve likely seen PCB boards printed with company logos. Interestingly, this feature isn’t something manufacturers reserve only for large corporations or special clients.
If you are designing your own PCB, you can also add a personalized logo and have it manufactured – most manufacturers charge very little, or even nothing, to add a logo on the top silkscreen layer or copper layer. If you’re wondering how to add a logo in Altium PCB, the process is quite simple and can be done using built-in tools for importing or creating custom graphics.
Adding a logo to a PCB isn’t just about aesthetics; it also enhances the PCB’s professional appearance. Let’s explore the main methods for adding a logo in Altium Designer, along with some practical tips to help you achieve your desired design.
Methods for Adding a Logo in Altium
There are two main methods for adding a logo to a PCB in Altium Designer: one uses a dedicated script plugin to convert an image into a logo, and the other uses the software’s built-in graphic placement function. The table below provides a detailed comparison of these two methods to help you choose based on your needs.
| Feature Comparison | Script Plugin Method (PCB Logo Creator) | Built-in Graphic Placement Method |
|---|---|---|
| Core Principle | Runs a script to convert a monochrome BMP bitmap into a logo composed of lines and arcs. | Uses the “Place > Graphic” command to directly import images in JPG, BMP, PNG, or SVG formats. |
| Image Requirements | Must be a monochrome BMP bitmap. | Supports various formats like JPG, BMP, PNG, SVG, offering high flexibility. |
| Operation Complexity | More steps involved, requires pre-converting image format and loading an external script. | Simple and straightforward steps; no script preparation needed. |
| Advantages | Good compatibility, suitable for older versions of Altium Designer. | Official native function, easy to operate; supports multiple image formats; allows quick resizing and repositioning. |
| Disadvantages | The generated logo consists of scattered primitives, making resizing and moving inconvenient (often requires creating a Union). | The graphic may distort when resized (except for SVG format). |
| Applicable Scenarios | Users with older software versions or those who prefer using scripts. | Users with Altium Designer 16 or later, prioritizing efficiency and ease of operation. |
How to add logo to your design in Altium Designer?
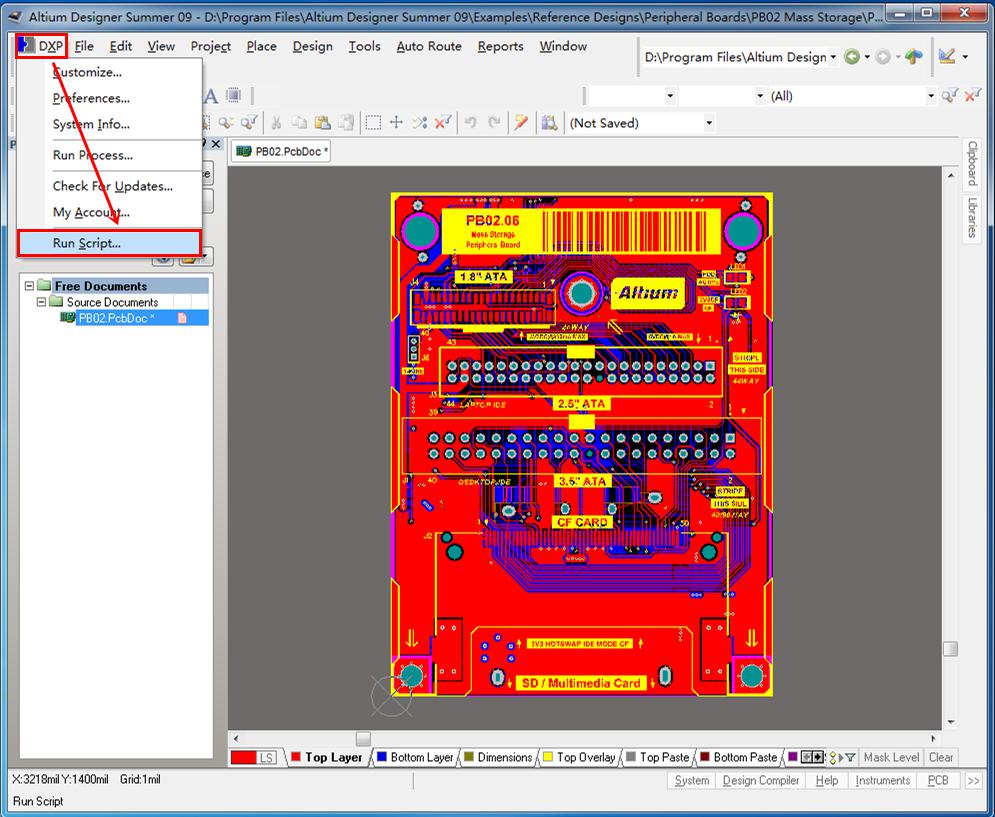
1.Click DXP and choose option Run Script. If you use Altium Desinger 18, you can click File to find option Run Script.
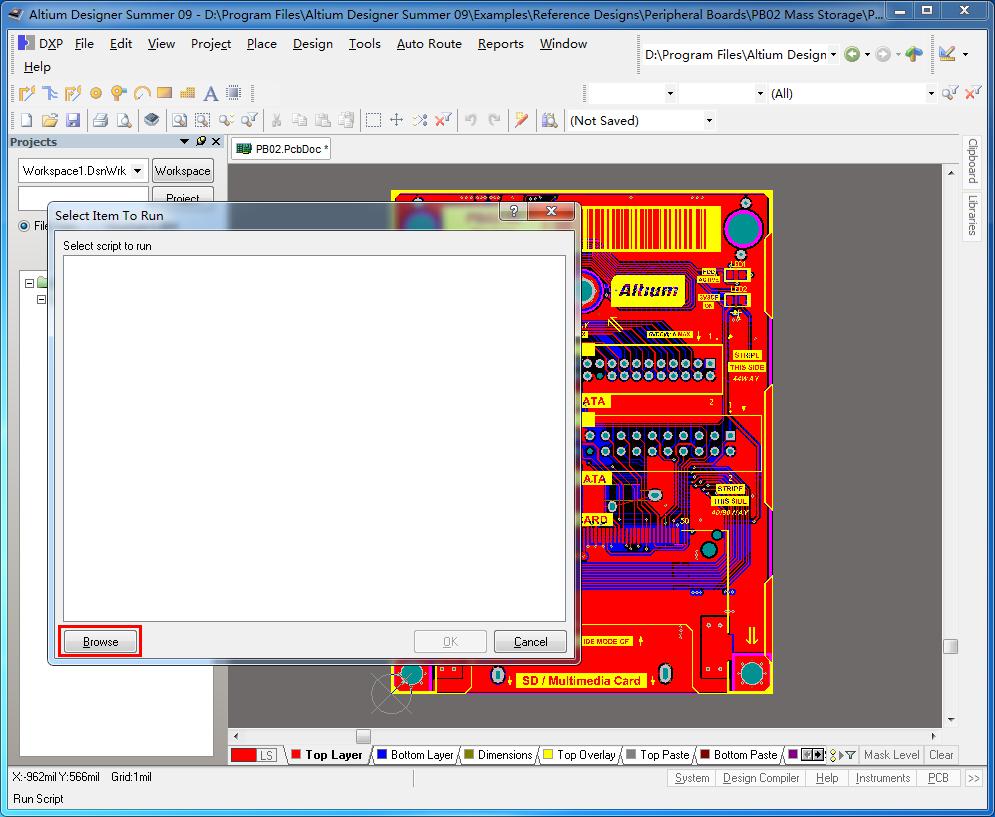
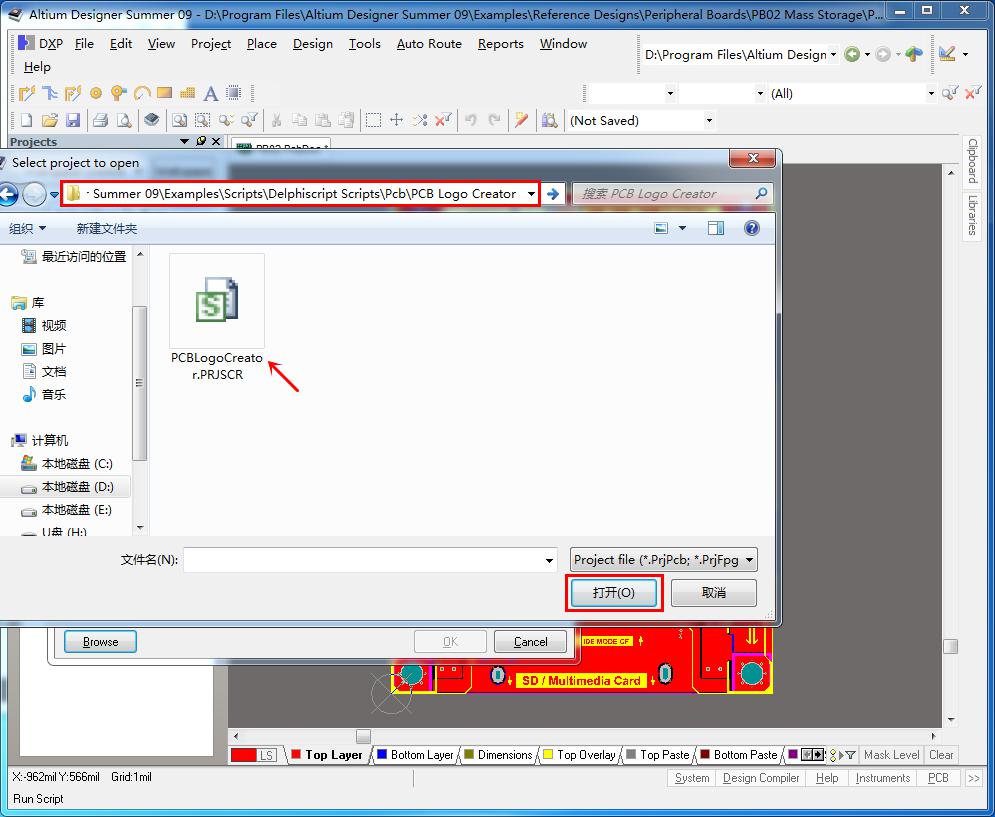
2.Click Browse to find a script file named “PCBLogoCreator.PRJSCR”, then open it. The file is located at X:\Altium Designer9\Examples\Scripts\Delphiscript Scripts\Pcb\PCB Logo Creator. X is the disk where your Altium Designer installed.
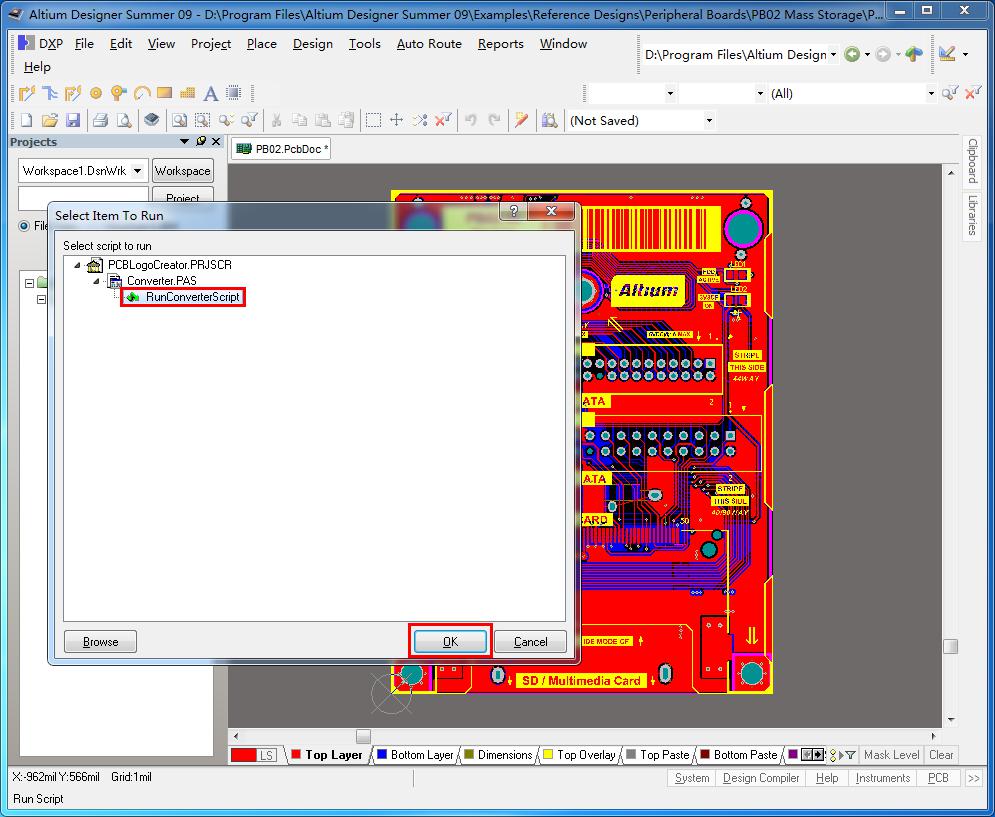
3.Choose RunConverterScript and click OK.
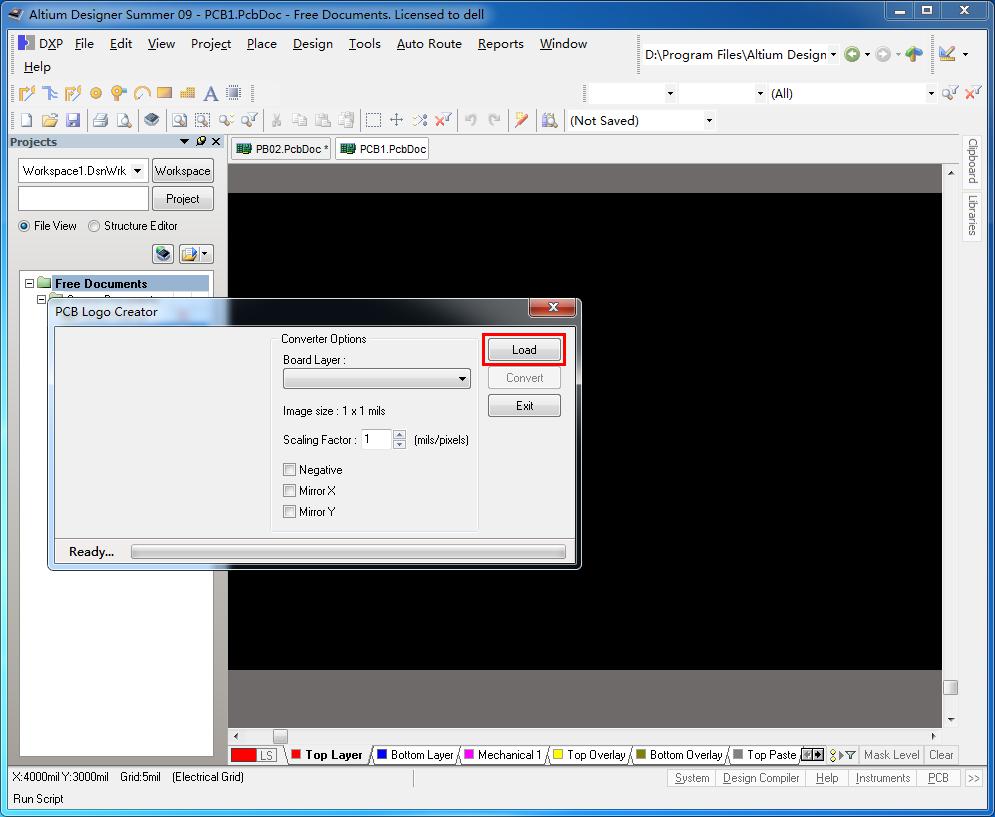
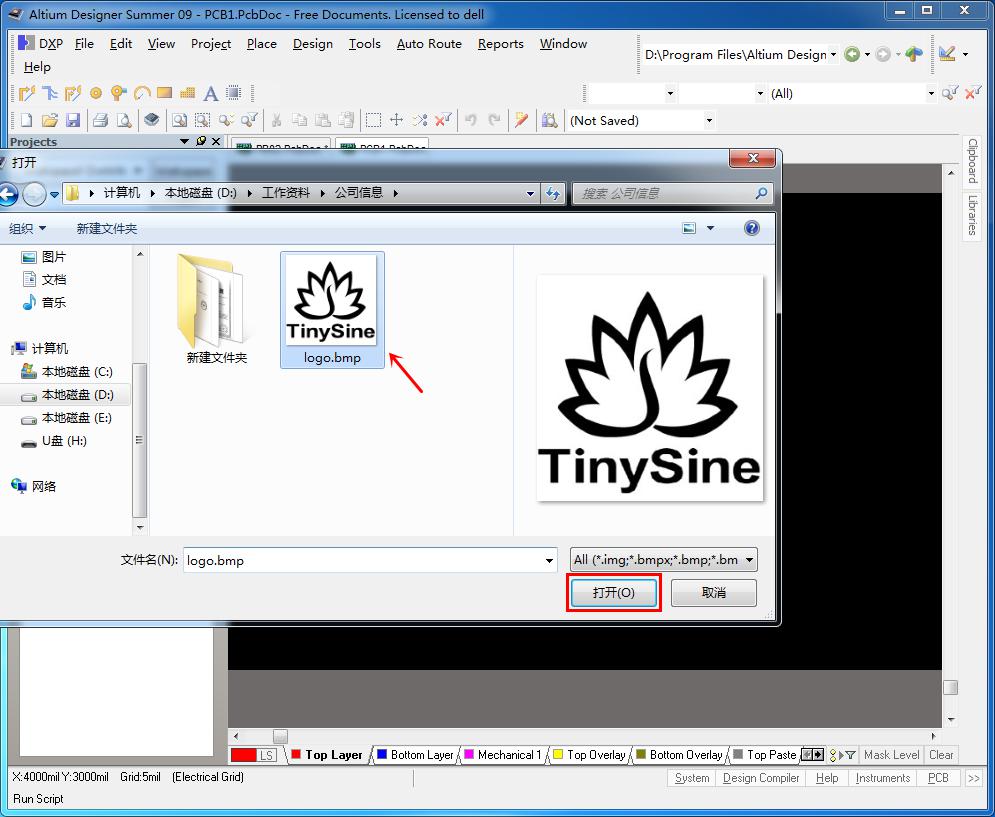
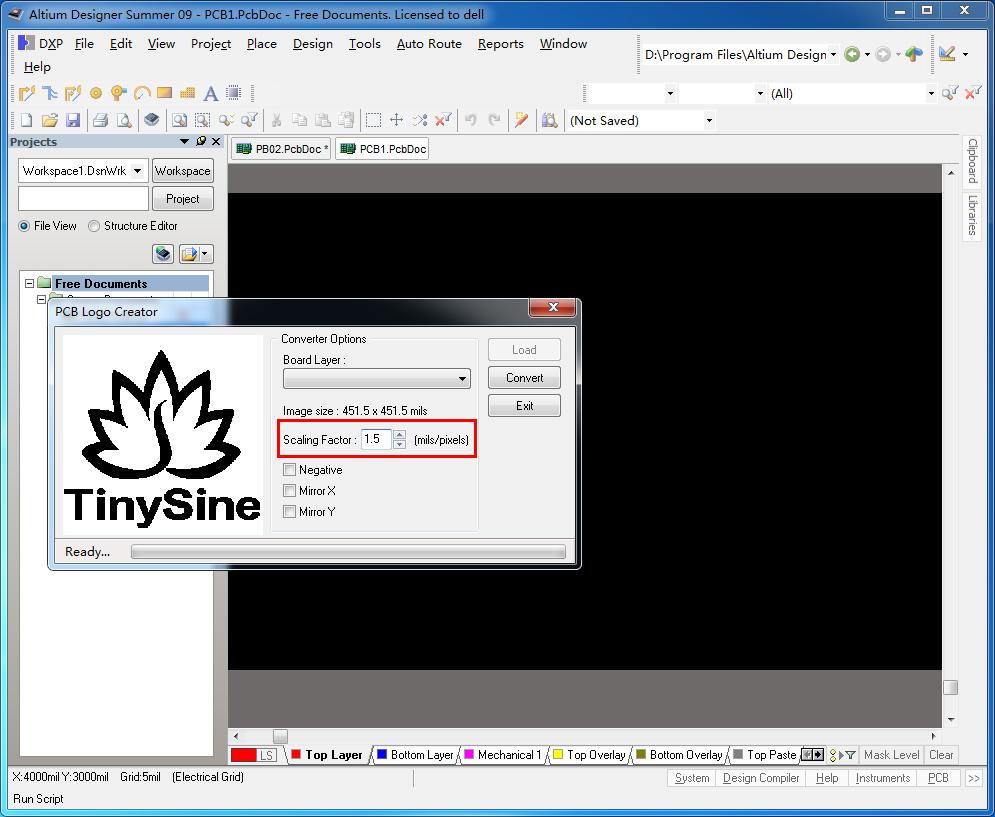
4.Altium Designer will create a new PCB file automatically, click Load to find your logo. The logo must be .bmp format. Here we will add our logo to the pcb file.
5.Choose top overlay layer or bottom overlay layer in Board Layer depending on which layer you want to put the logo to. If you use Altium Designer 09, you are unable to change the layer, because the logo is converted to the top layer as default. We will tell you how to move it to top overlay or bottom overlay layer later.
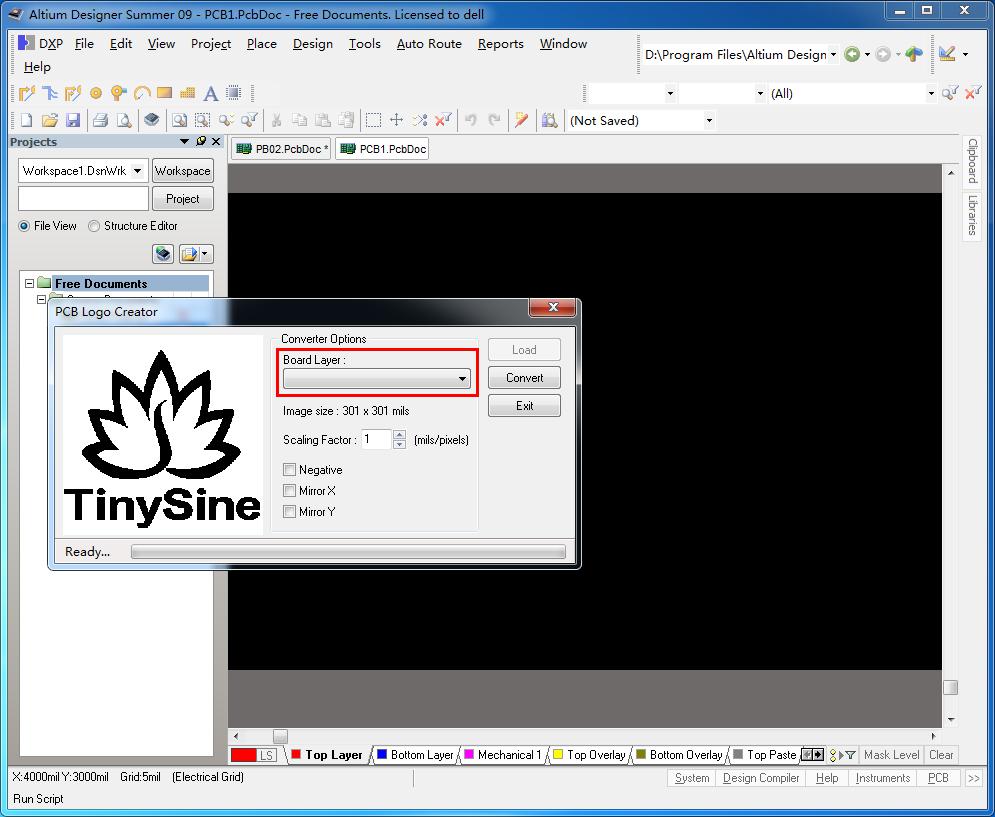
6.Input a suitable ratio in Scaling Factor according to your board’s size.
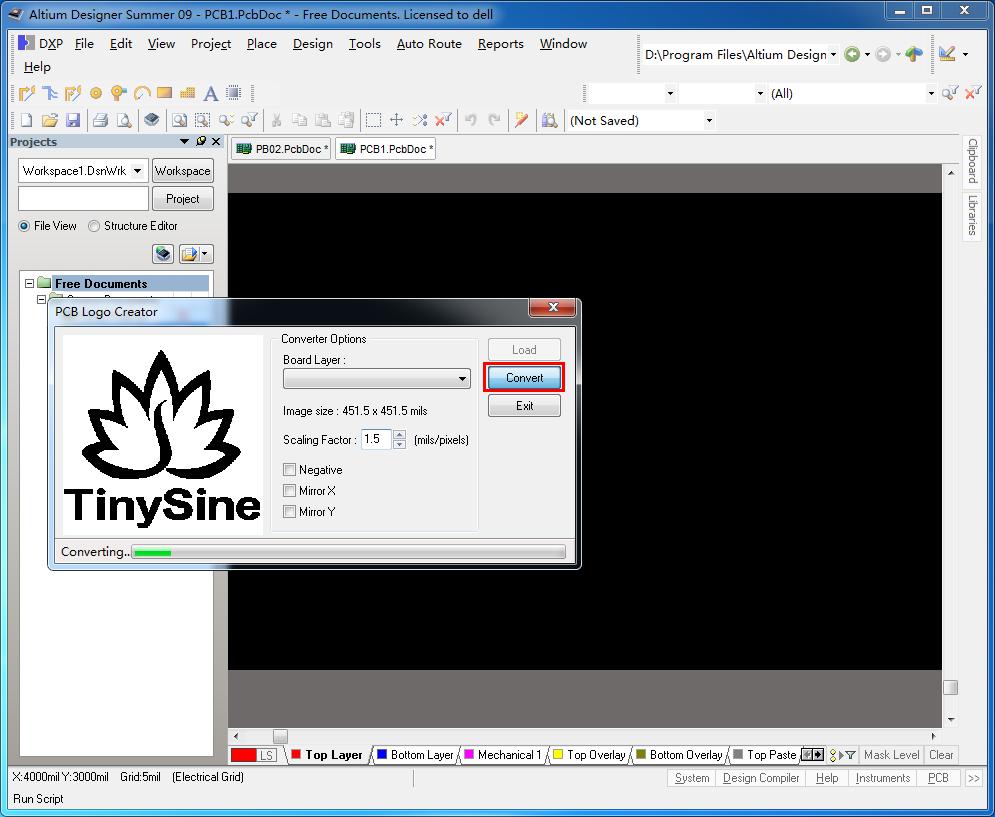
7.If you want to put logo to the bottom overlay layer, just check option Mirror X.

8.Click Convert, the logo is converted, now you can select the whole logo and copy it to your pcb file.
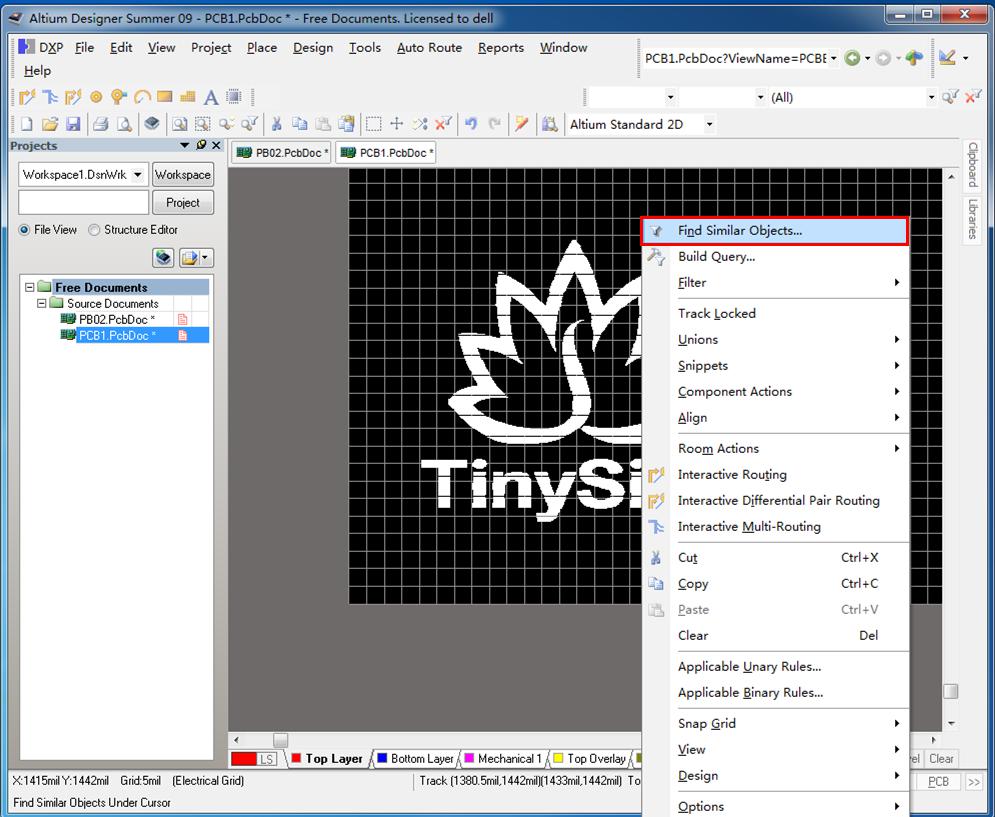
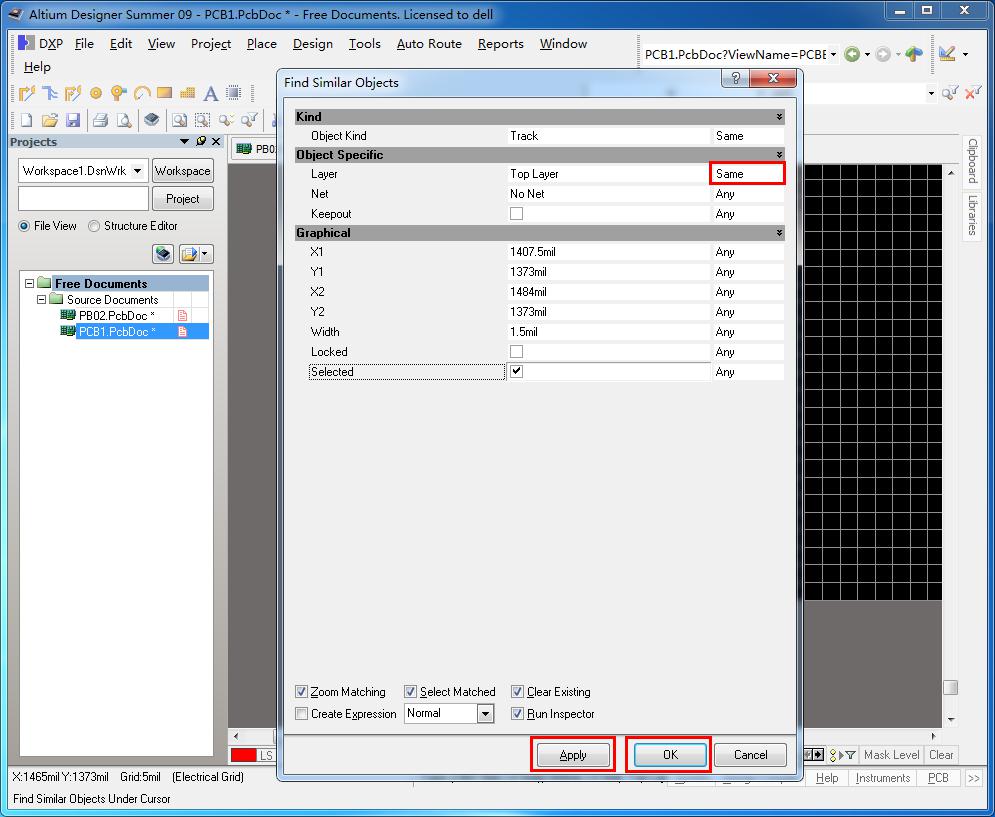
9.If you use Altium Designer 09, the logo is on the top layer, let’s show you how to move it to top overlay or bottom overlay layer. Select the whole component and right click the mouse, choose option Find Similar Objects.
10.Change option from Any to Same, click Apply then OK.
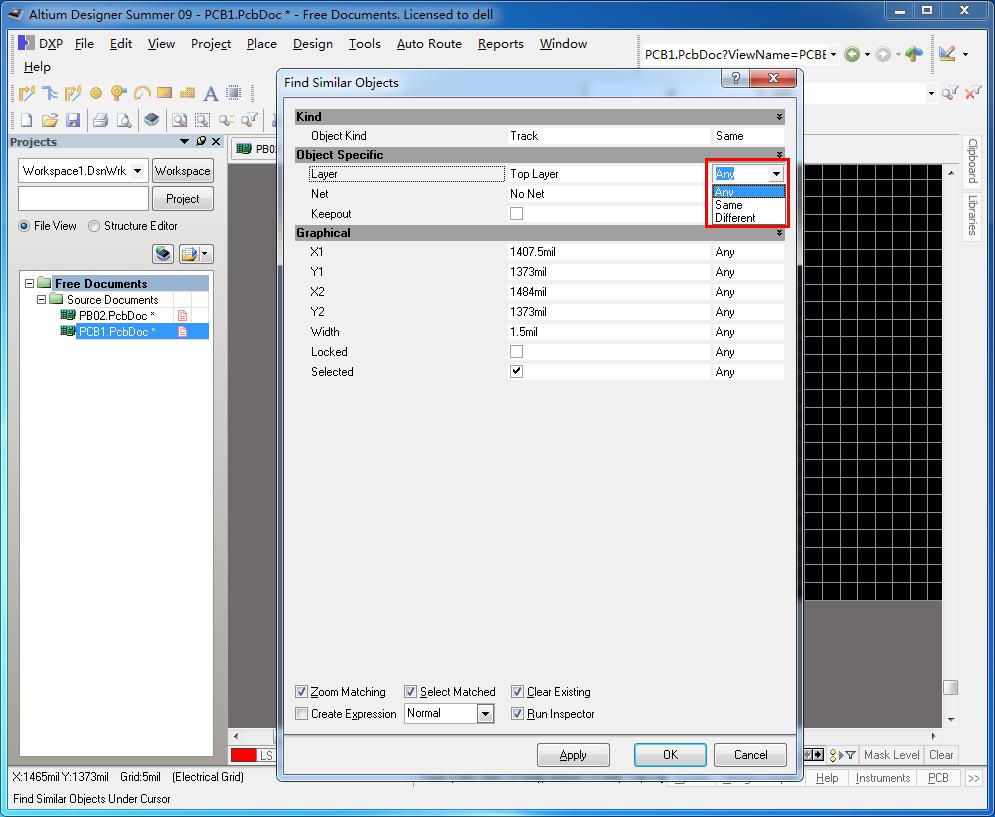
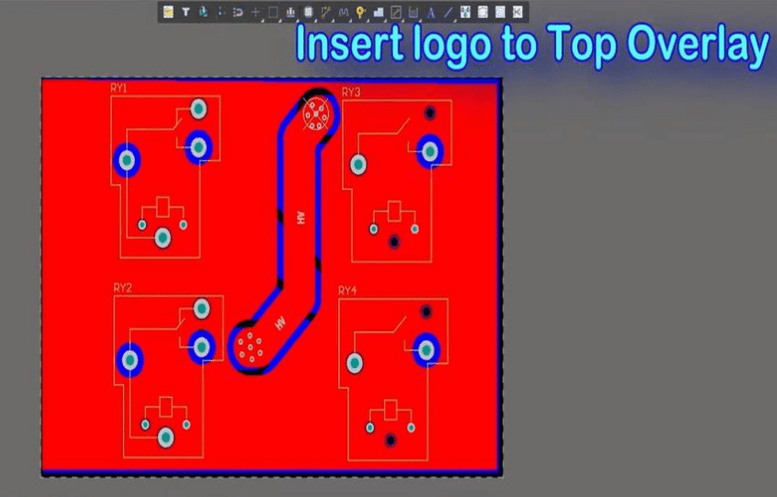
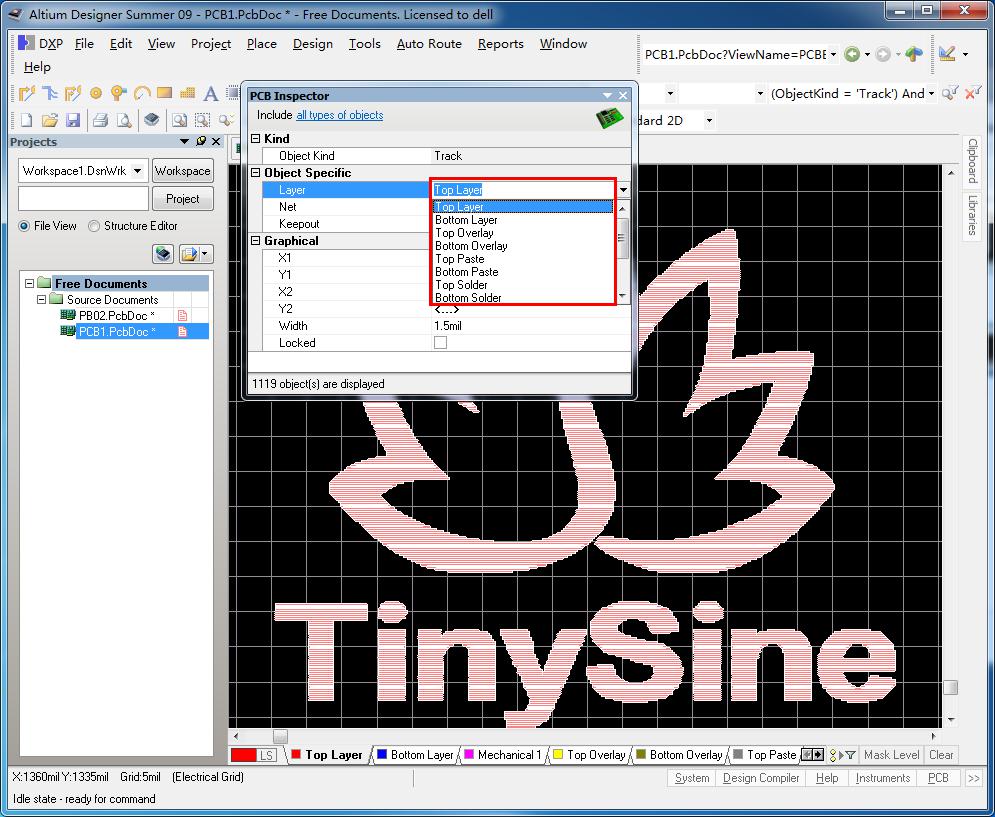
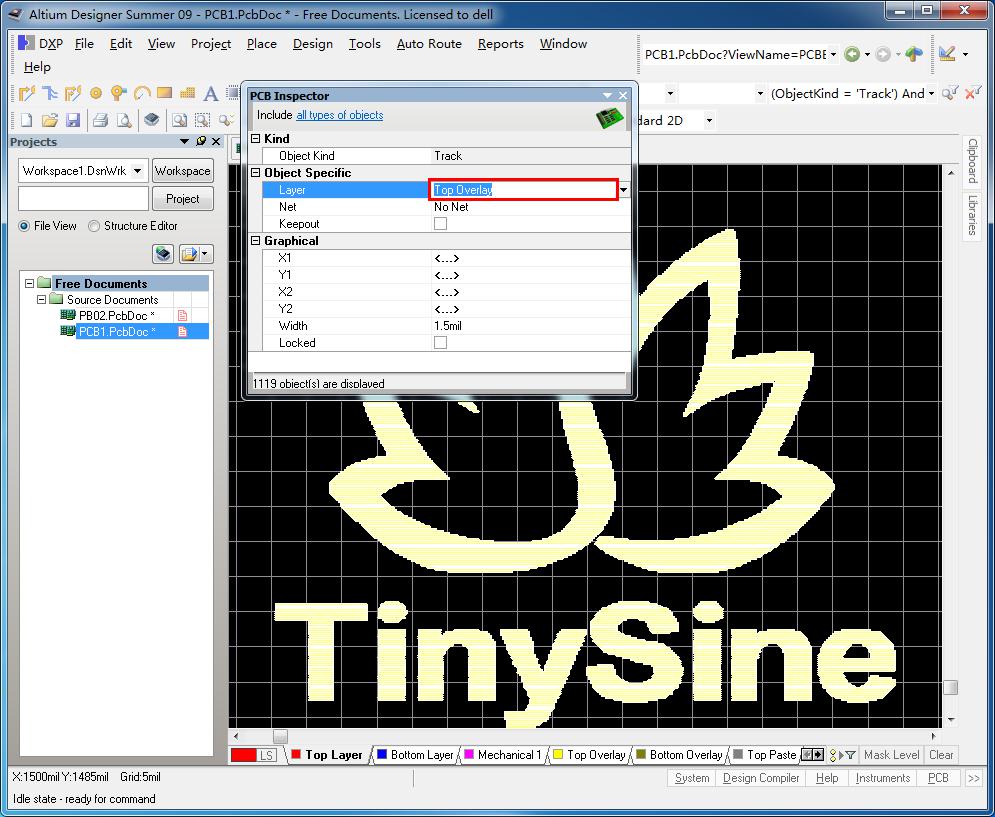
11.Now you can change logo to Top Overlay or Bottom Overlay layer.
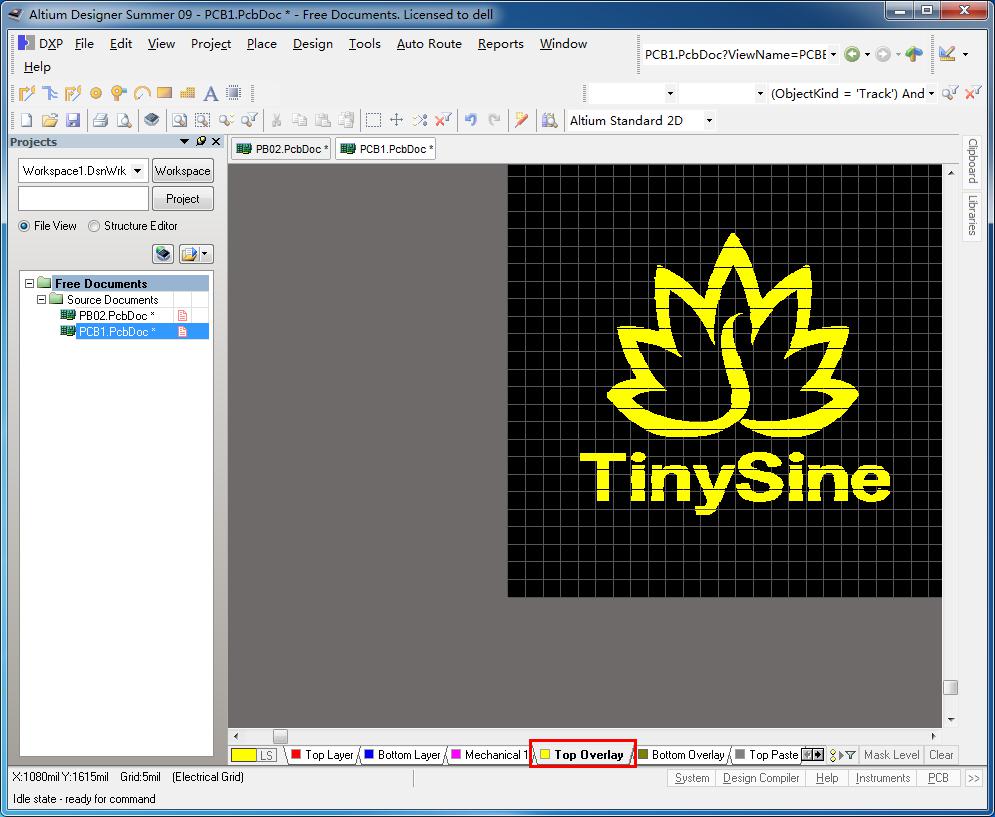
12.Close the PCB Inspector window, you will find the logo has been changed to the top overlay or bottom overlay layer. Now you can copy the logo to your pcb file.
Practical Suggestions and Tips
- Prioritize Vector Formats: If you have a vector source file (SVG format) for your logo, it is highly recommended to use the built-in graphic placement method to import the SVG. This allows for lossless scaling and the clearest results.
- Paste from Word: For the built-in method, here’s a quicker trick. You can first copy the logo image into Microsoft Word. Then, select the image in Word and copy it. Finally, simply press Ctrl+V to paste directly in the Altium Designer PCB interface. The image will be pasted as a metafile onto the current layer, which is very convenient.
- Create a Logo Library Component: If you need to use the same logo frequently, after creating the union, you can copy it into a newly created PCB library file and save it as a separate footprint. This allows you to reuse the logo just like any other component in the future.
Secrets to Achieving the Best Results
If you want your logo to look clear and professional after manufacturing, here are some tips for adding a logo in Altium PCB.
Most designers place their logos on the silkscreen layer for visibility, but a logo embedded in copper can also give a stylish, high-end feel.
Avoid using overly complex logos, as thin lines or small text might not print clearly. It’s best practice to check your manufacturer’s capabilities, such as minimum line width, silkscreen resolution, and copper clearance.
Always run a Design Rule Check (DRC) to avoid errors.
Conclusion
Adding a logo to your PCB is a straightforward way to make it more professional and personalized. Knowing how to add a logo in Altium PCB makes the process easy within advanced design software like Altium. However, to achieve the best results, you must create the logo according to the manufacturer’s guidelines. When done correctly, a logo on the PCB can transform it from a generic circuit board into a professional product that embodies your identity.


0 Comments